Project Description
We’re getting this one updated as fast as we can, and here is the original blog post about it:
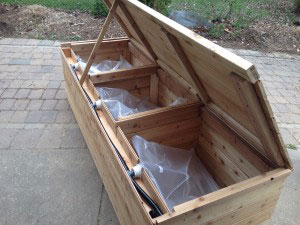
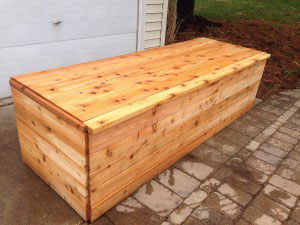
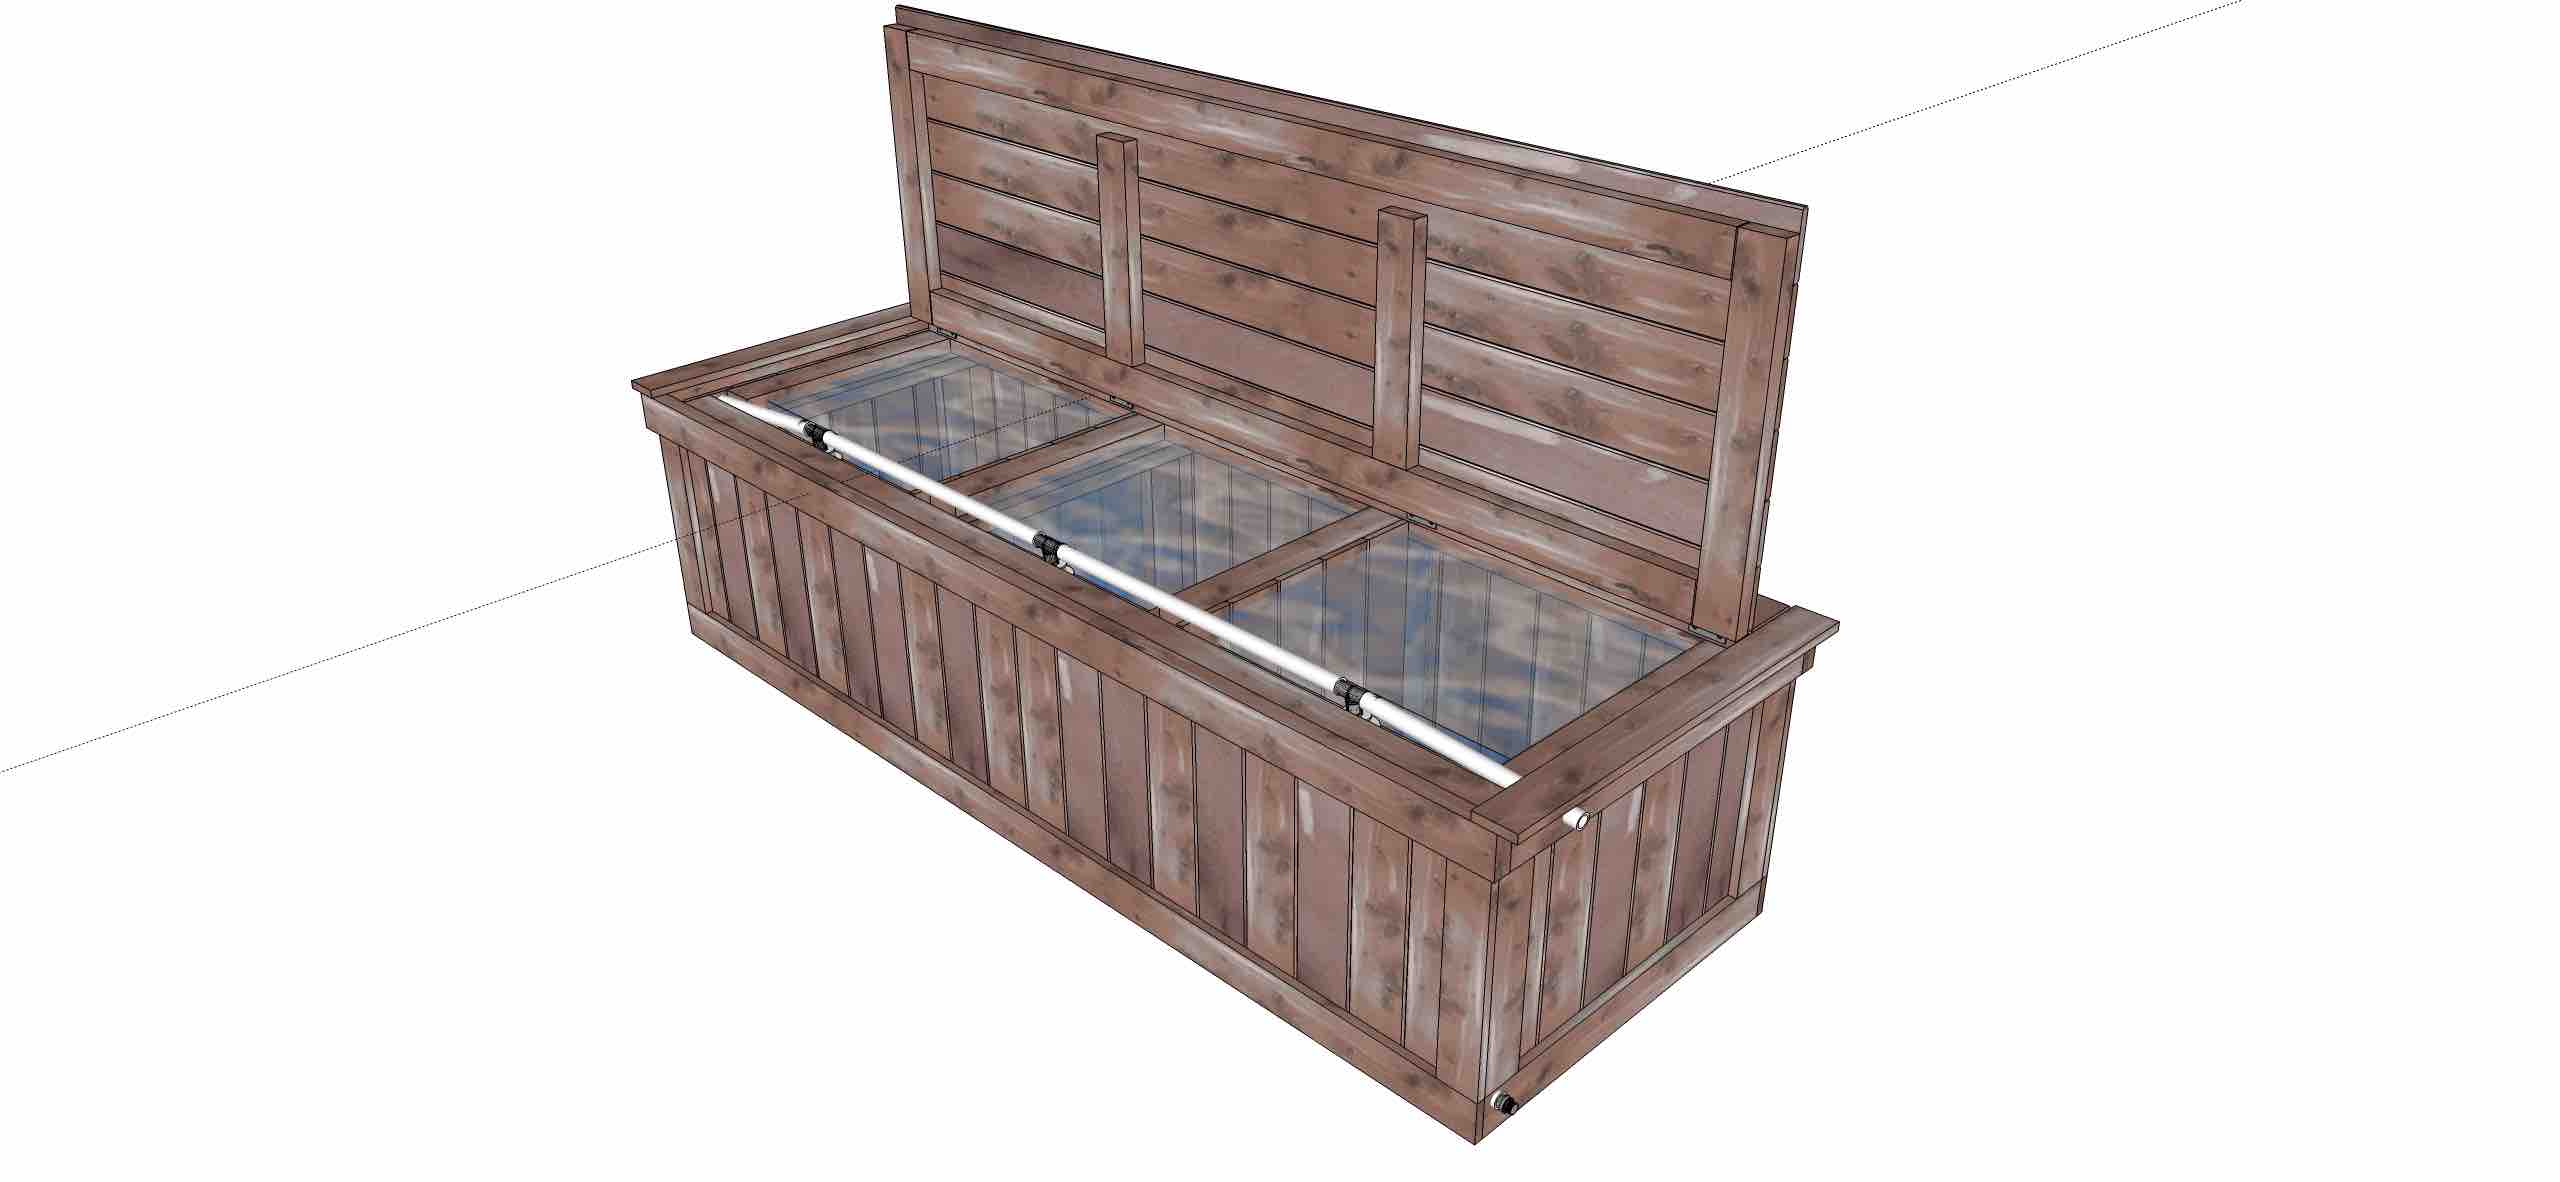
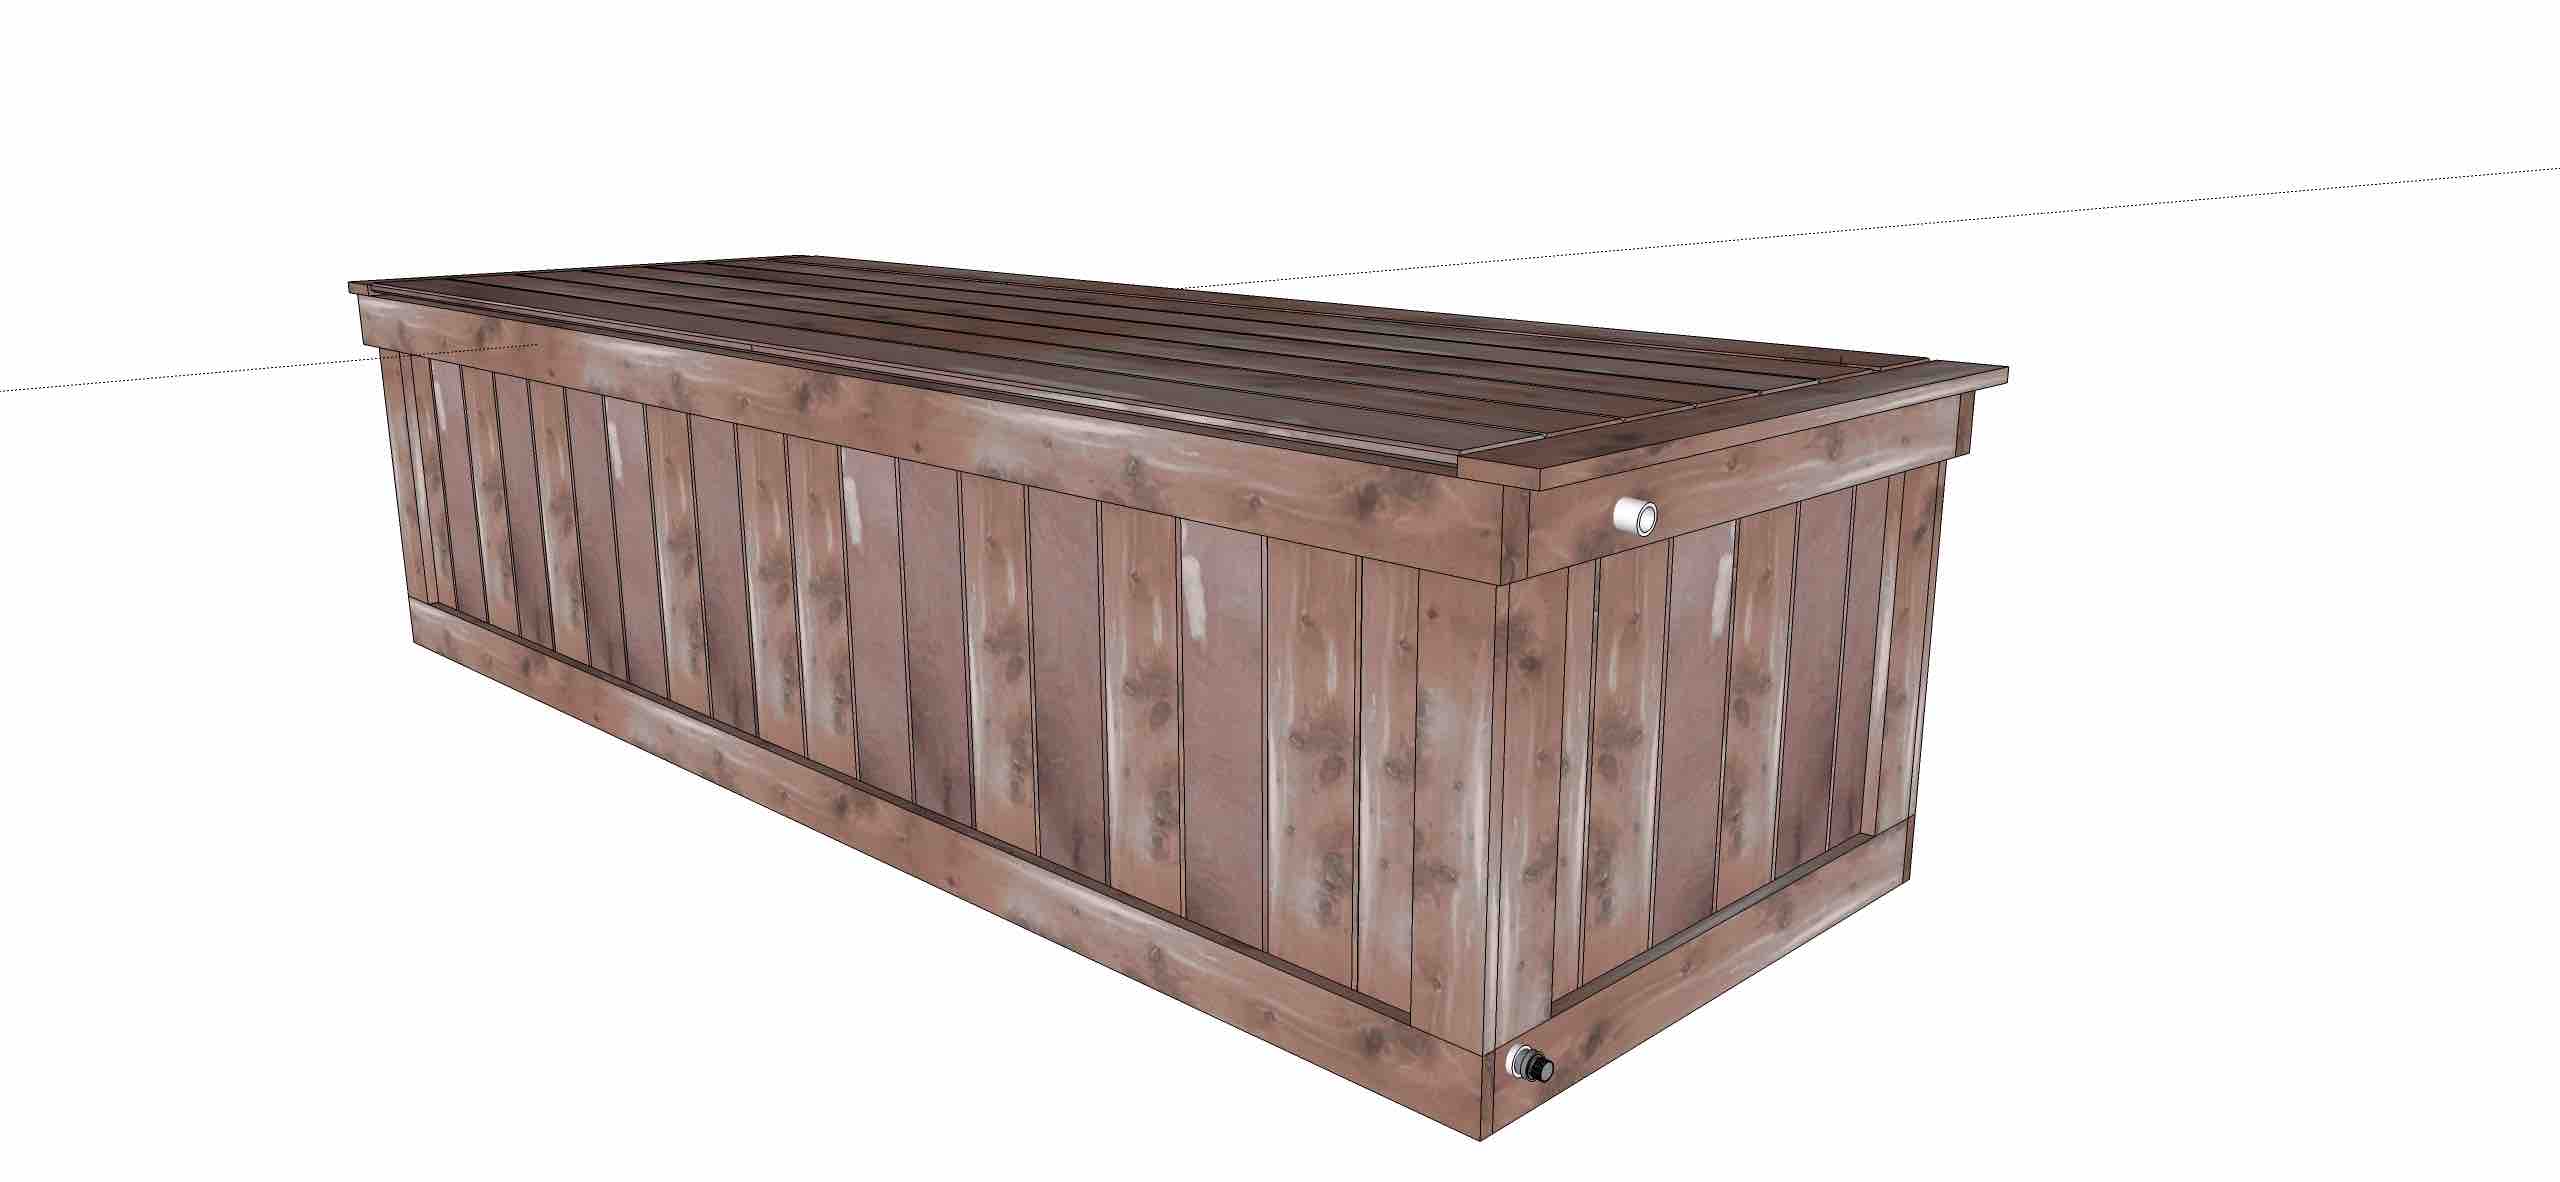
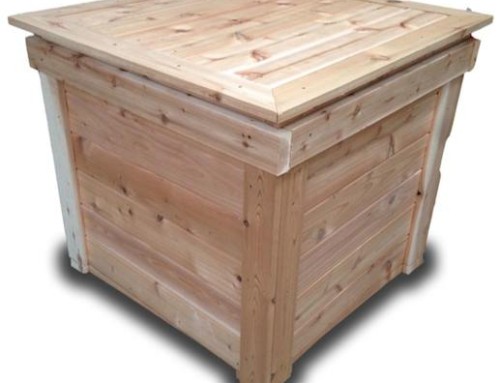
300 gallon Cedar Rain Bench DIY
On that page you can see a couple videos, one of Scott building this bench in a minute and a half (ok time lapse), and another explaining an important upgrade to this and previous designs…
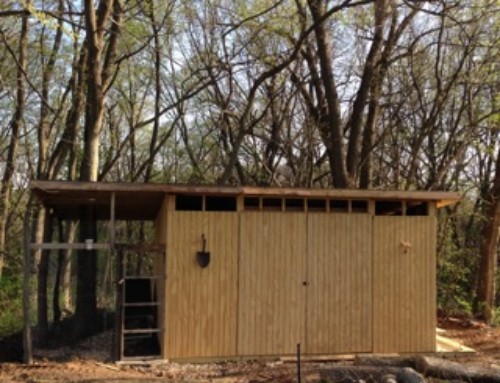
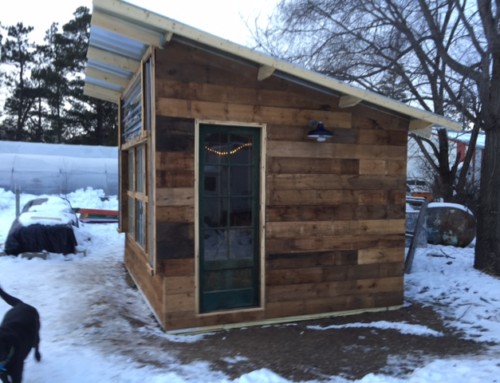
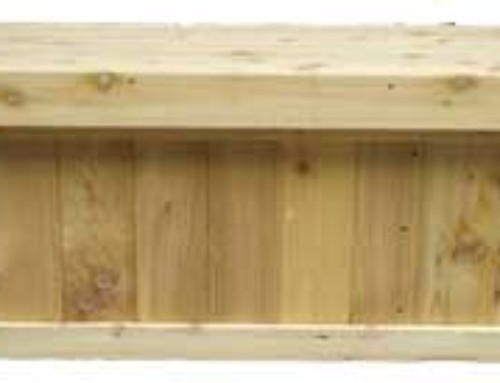
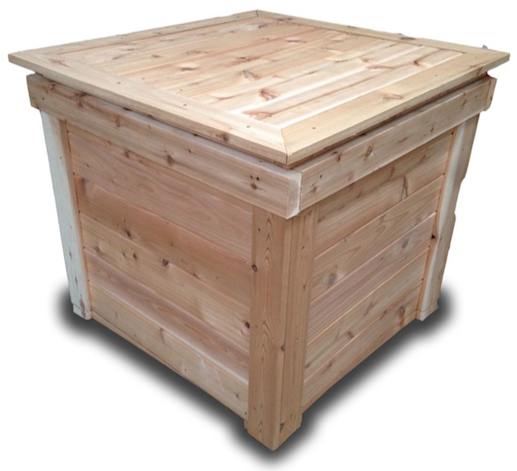
And below are a couple examples of slightly simpler designs, which can be modified to use any scrap lumber or different type of locally available materials:
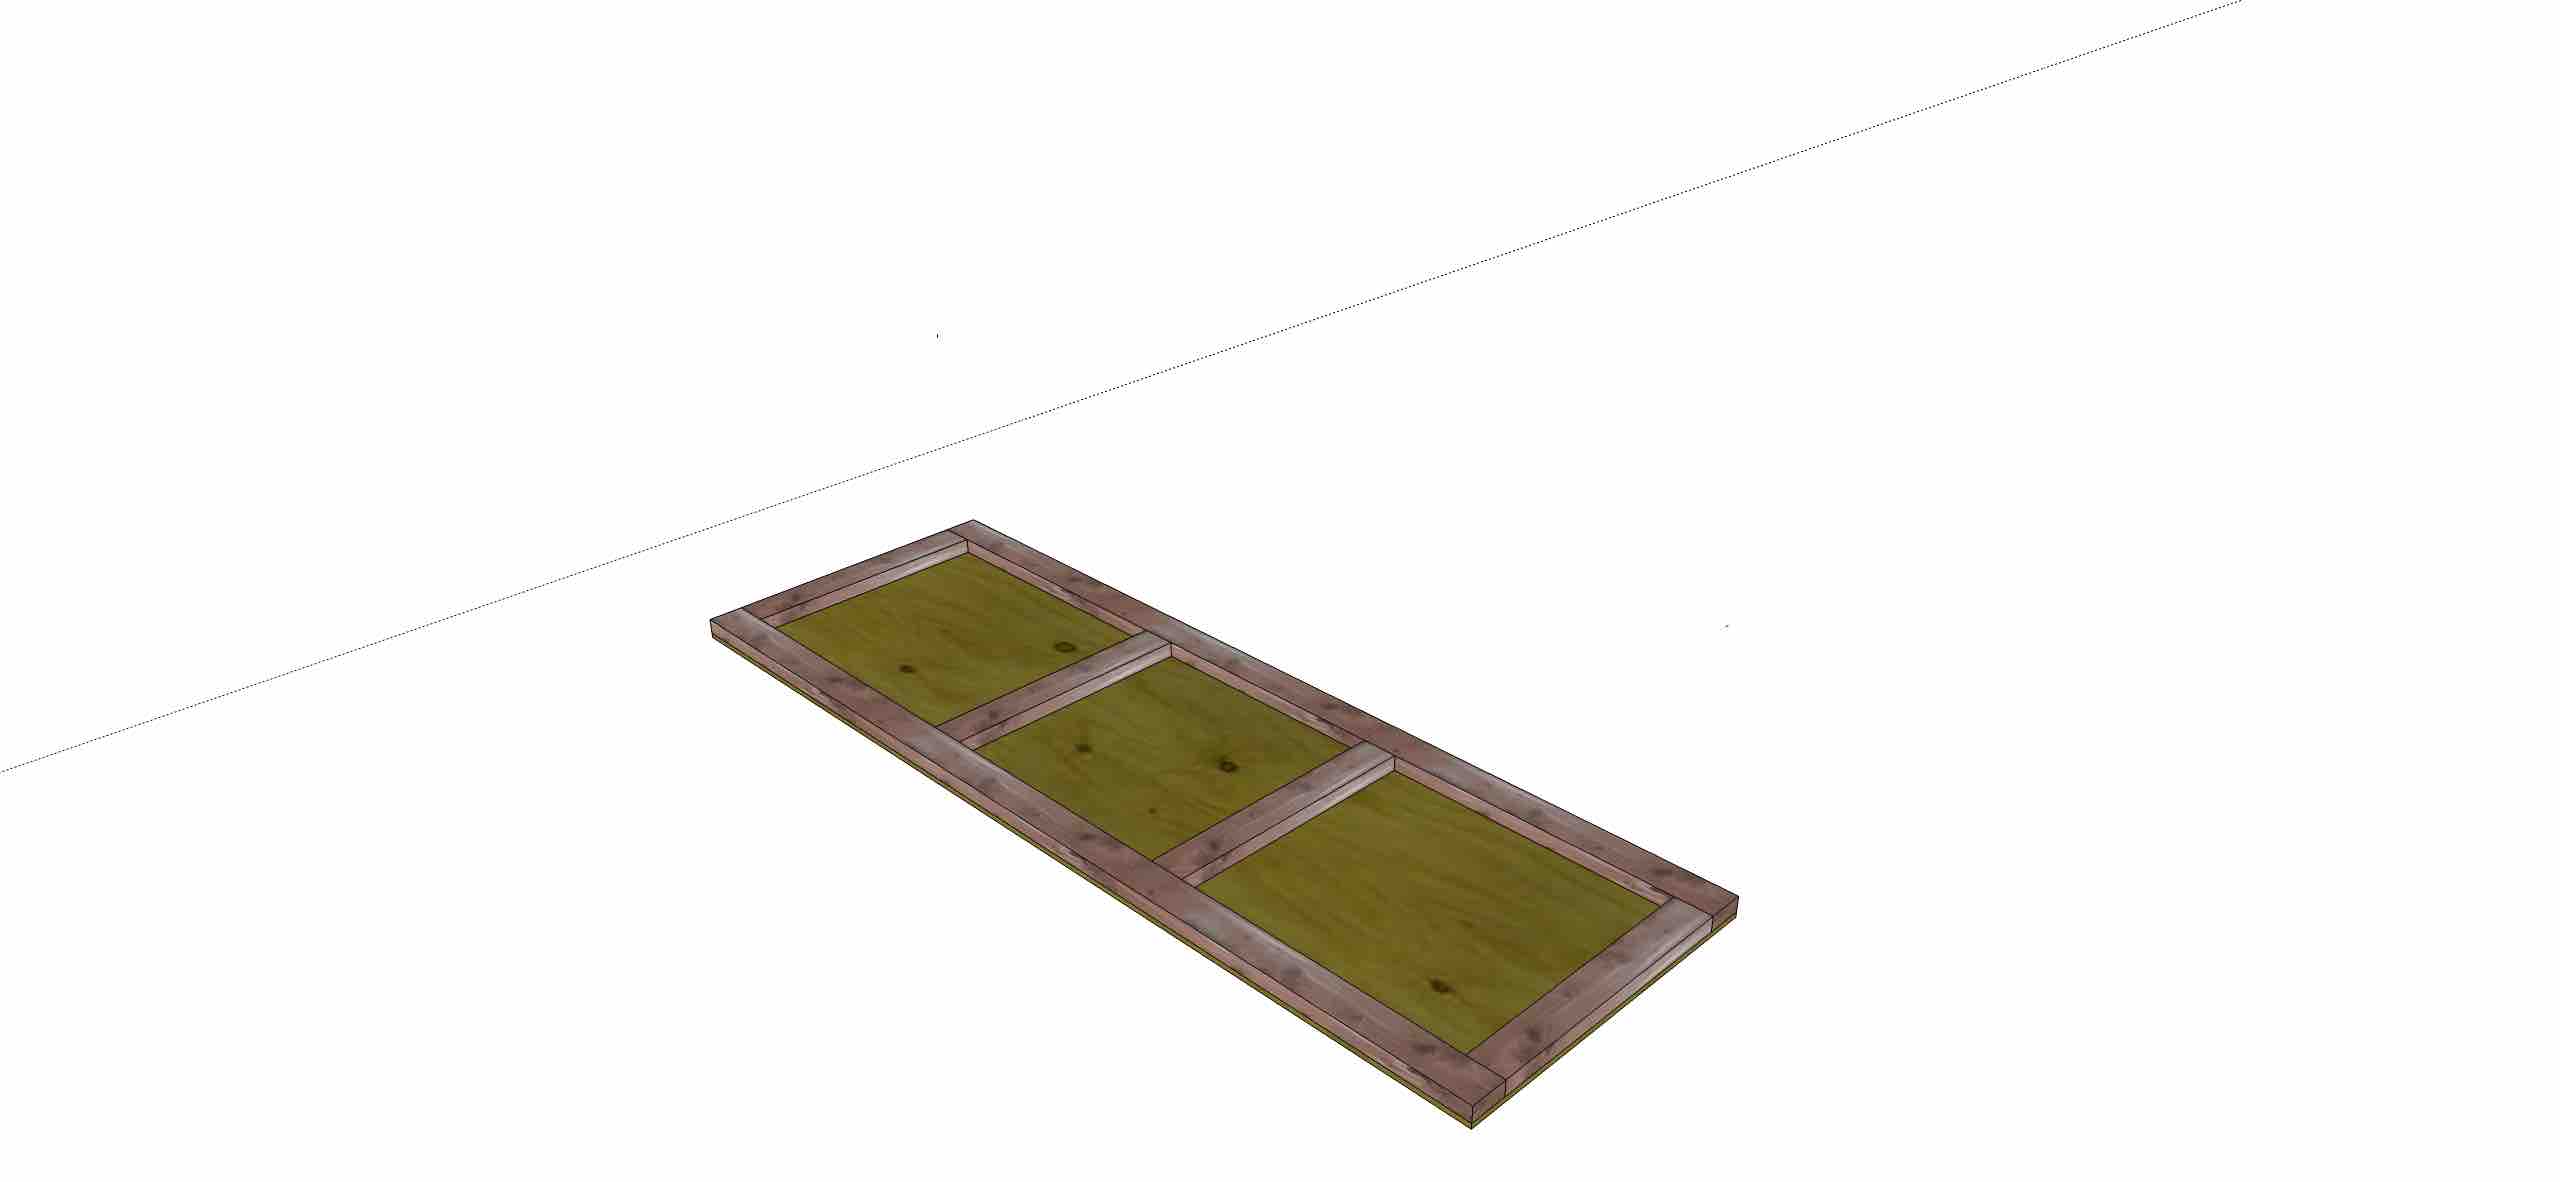
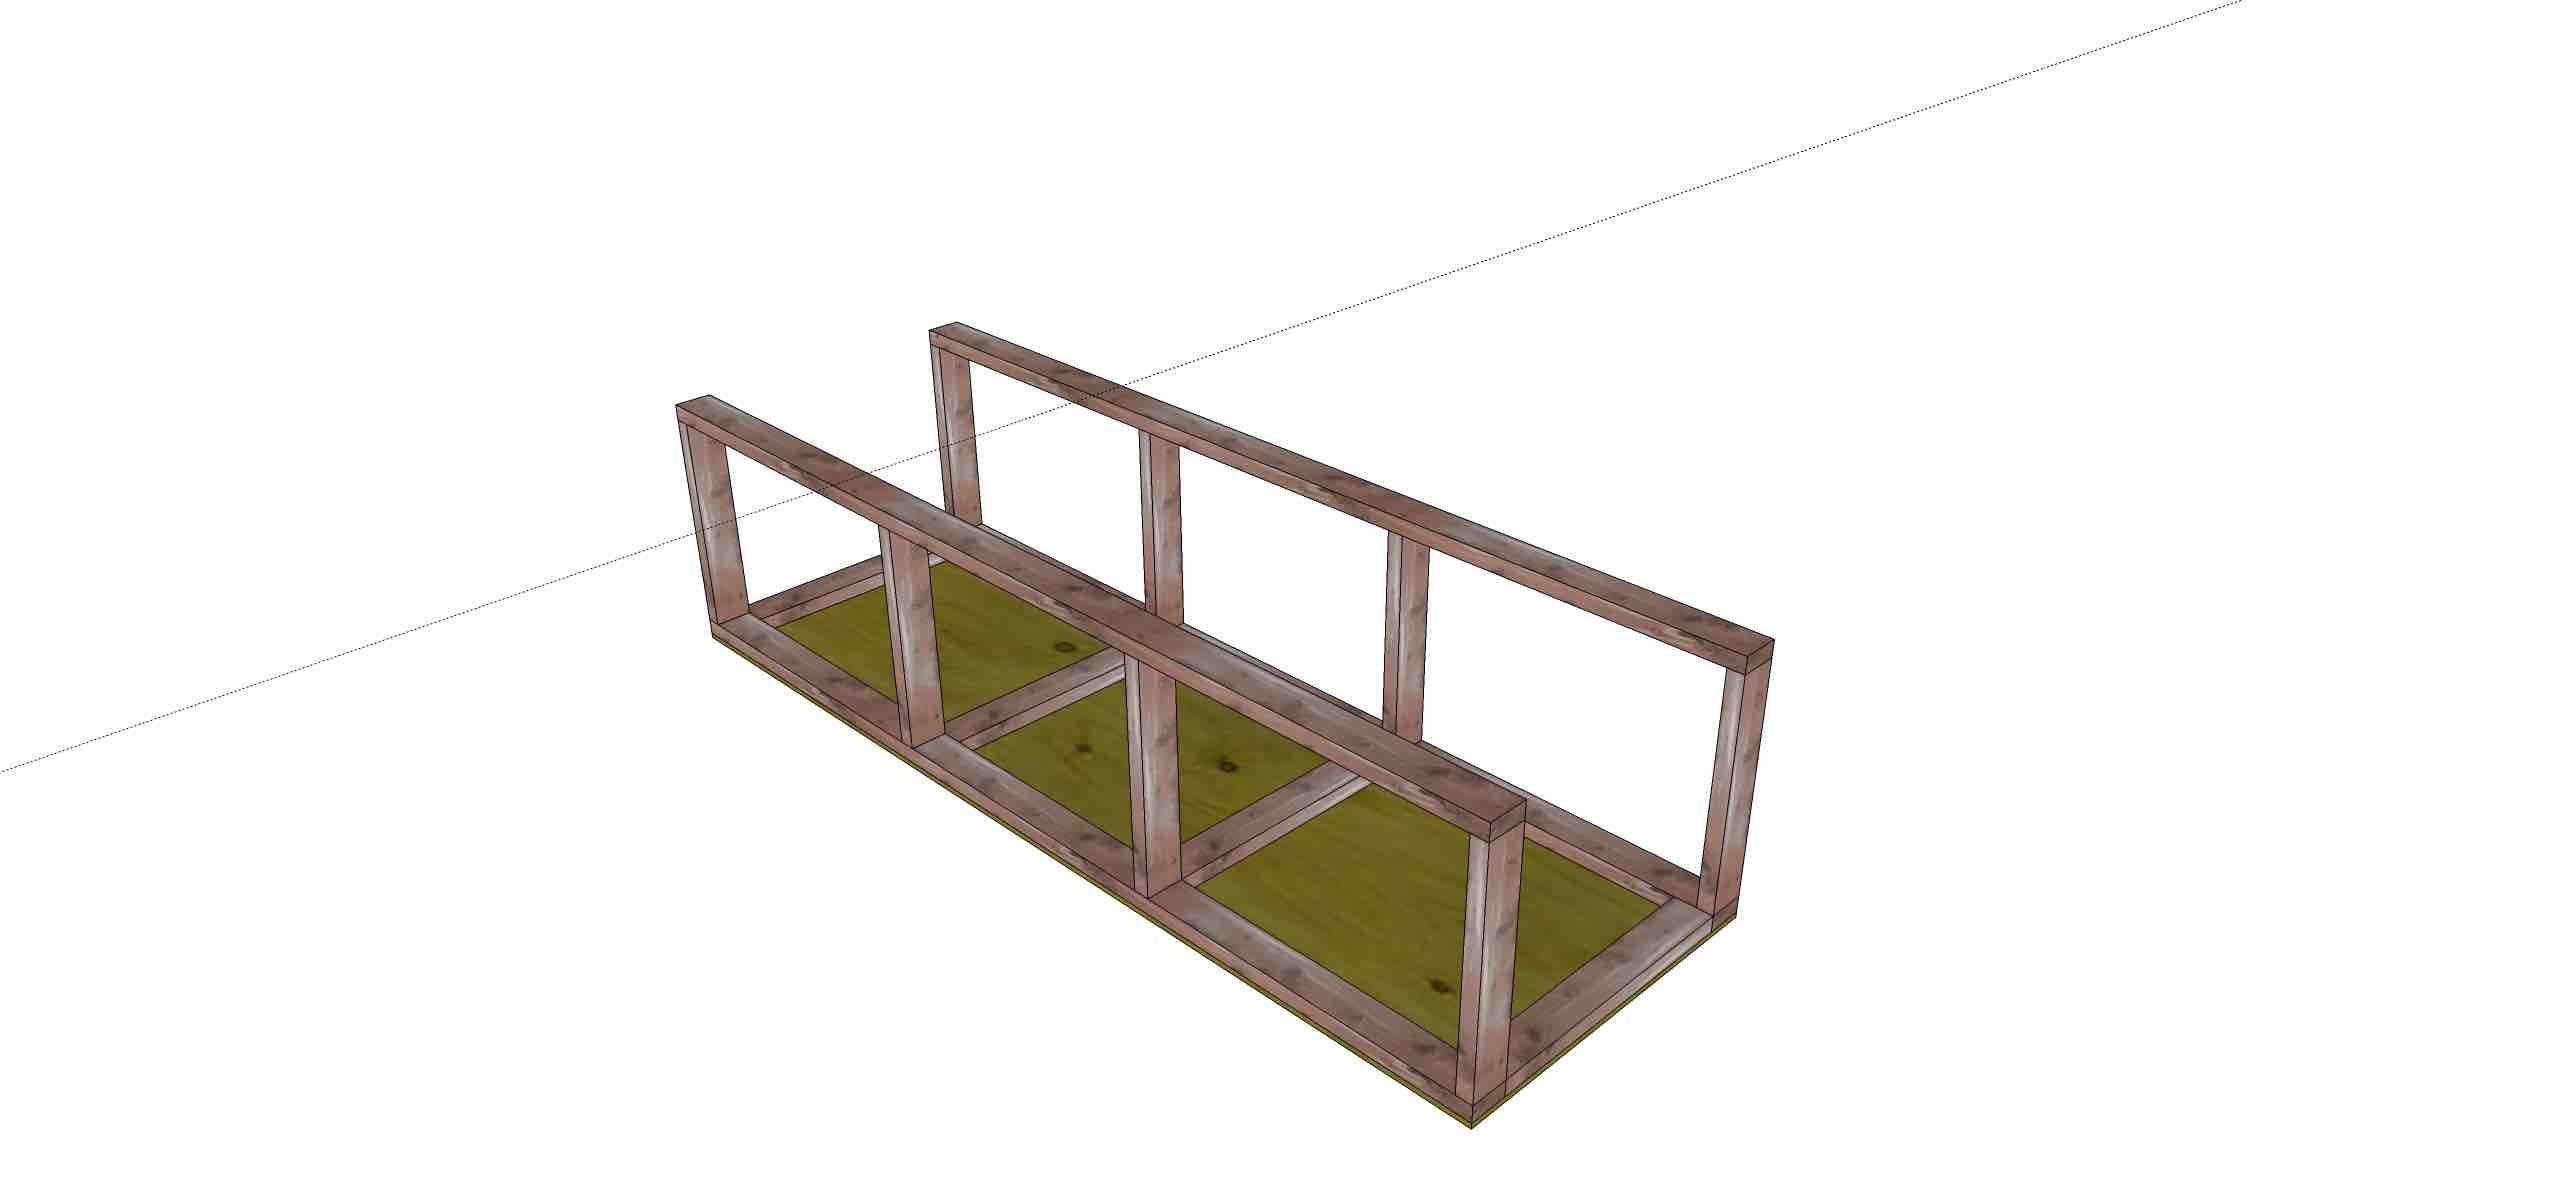

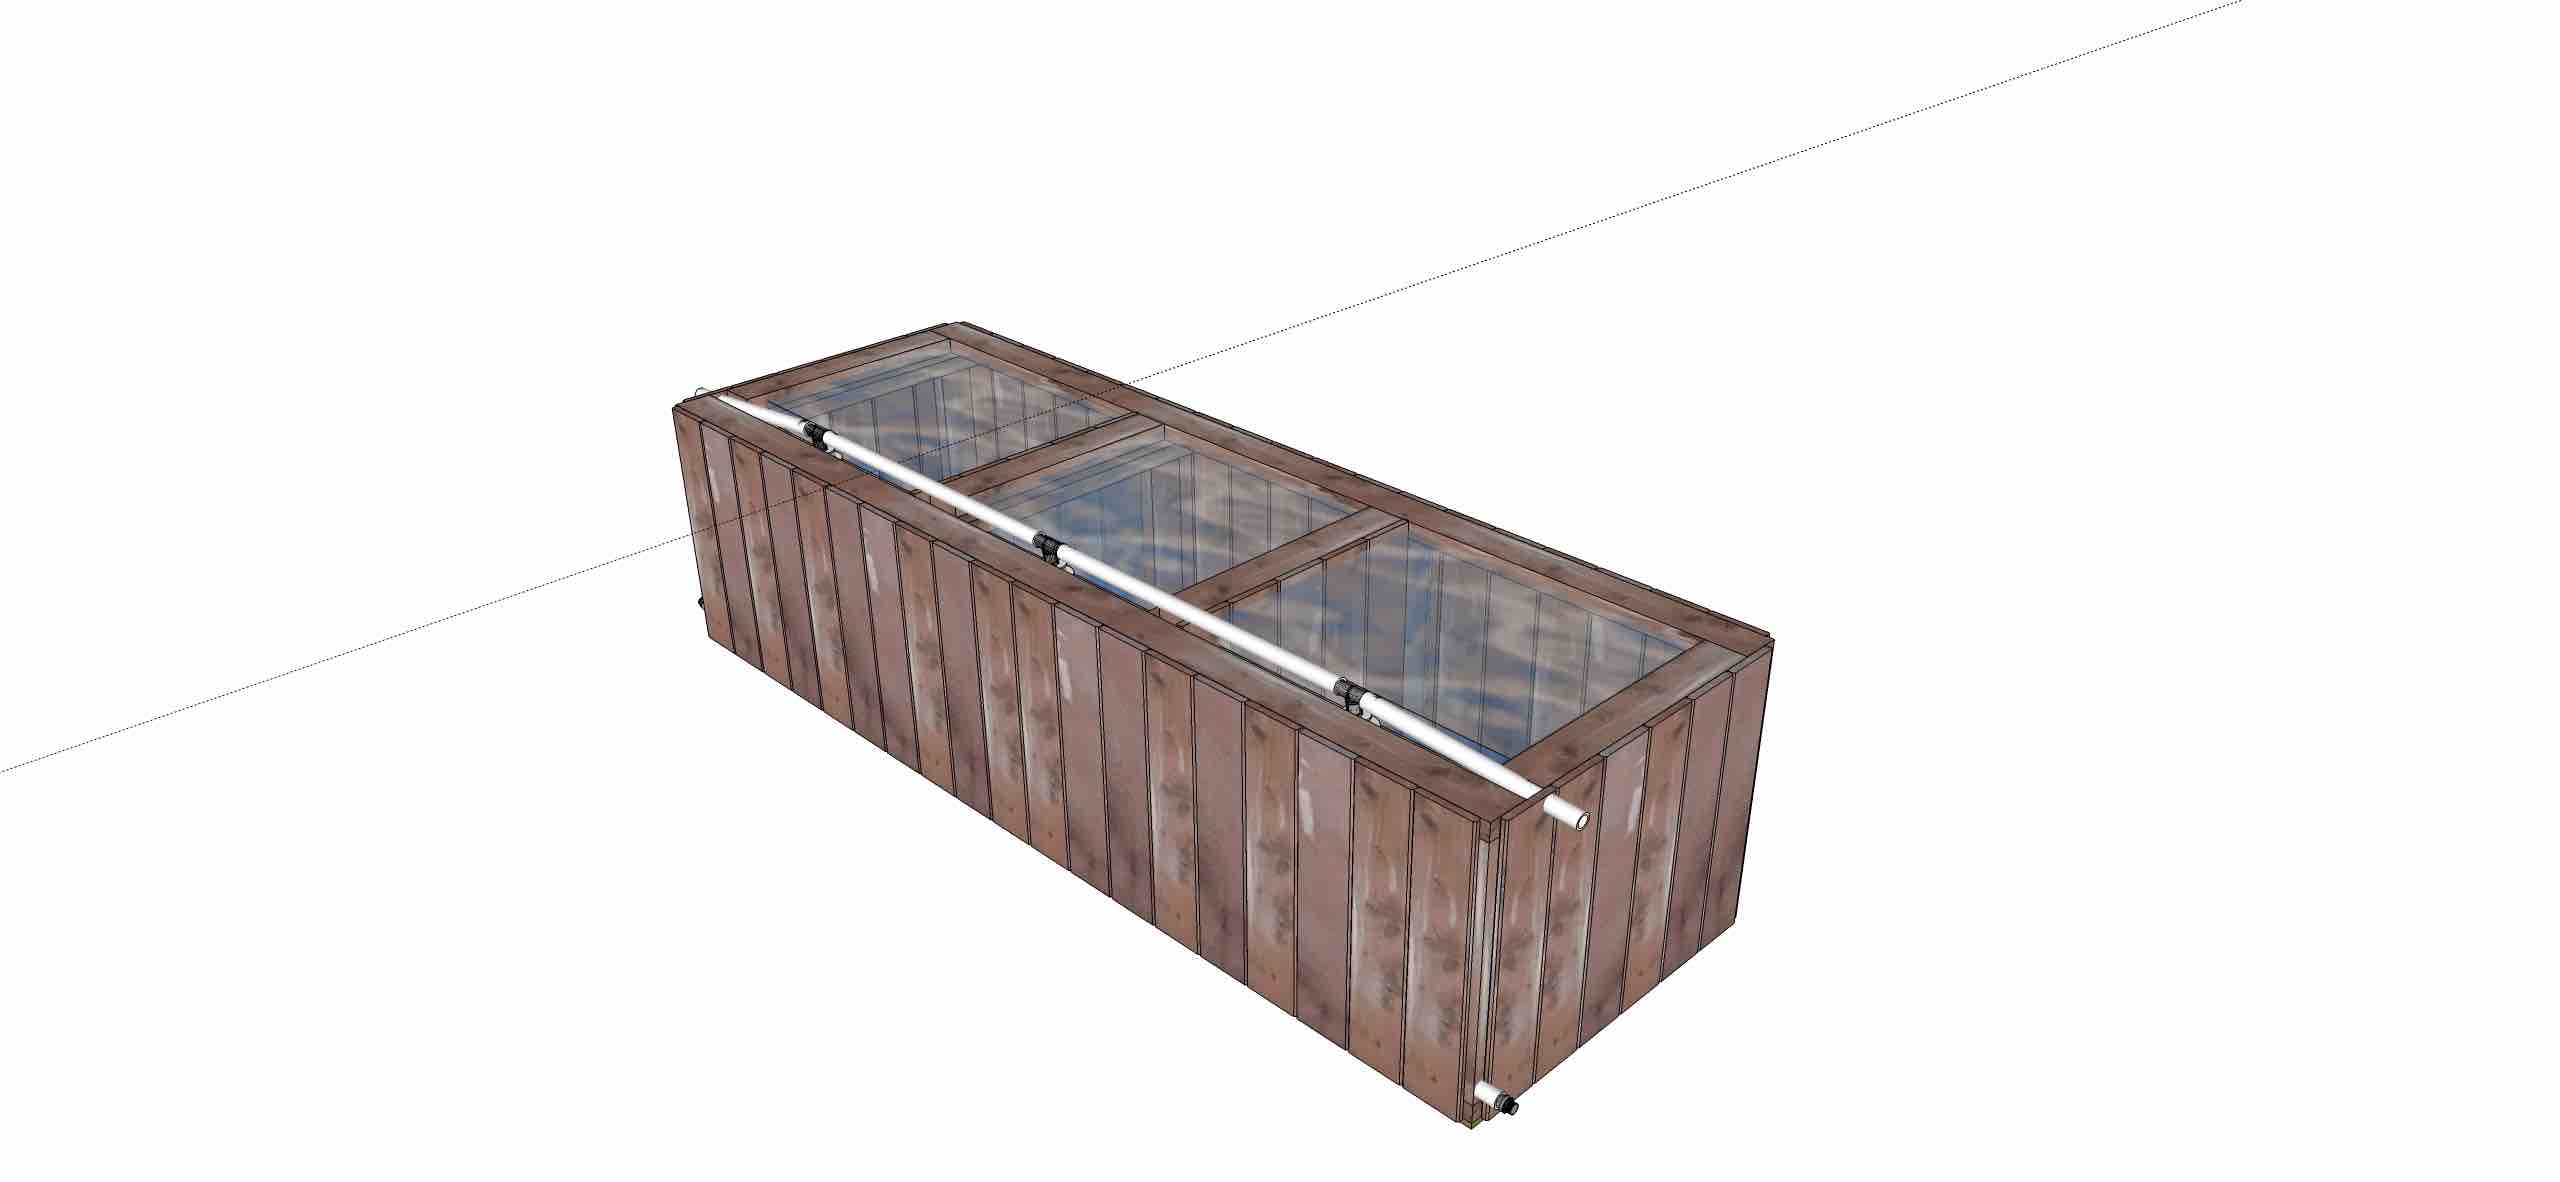
You see, we have found that cedar tongue & groove lumber is not available everywhere, so we have improved our designs to allow for use of pretty much any lumber of any type, as long as it is rigid enough to hold up to the pressure of being filled with water.
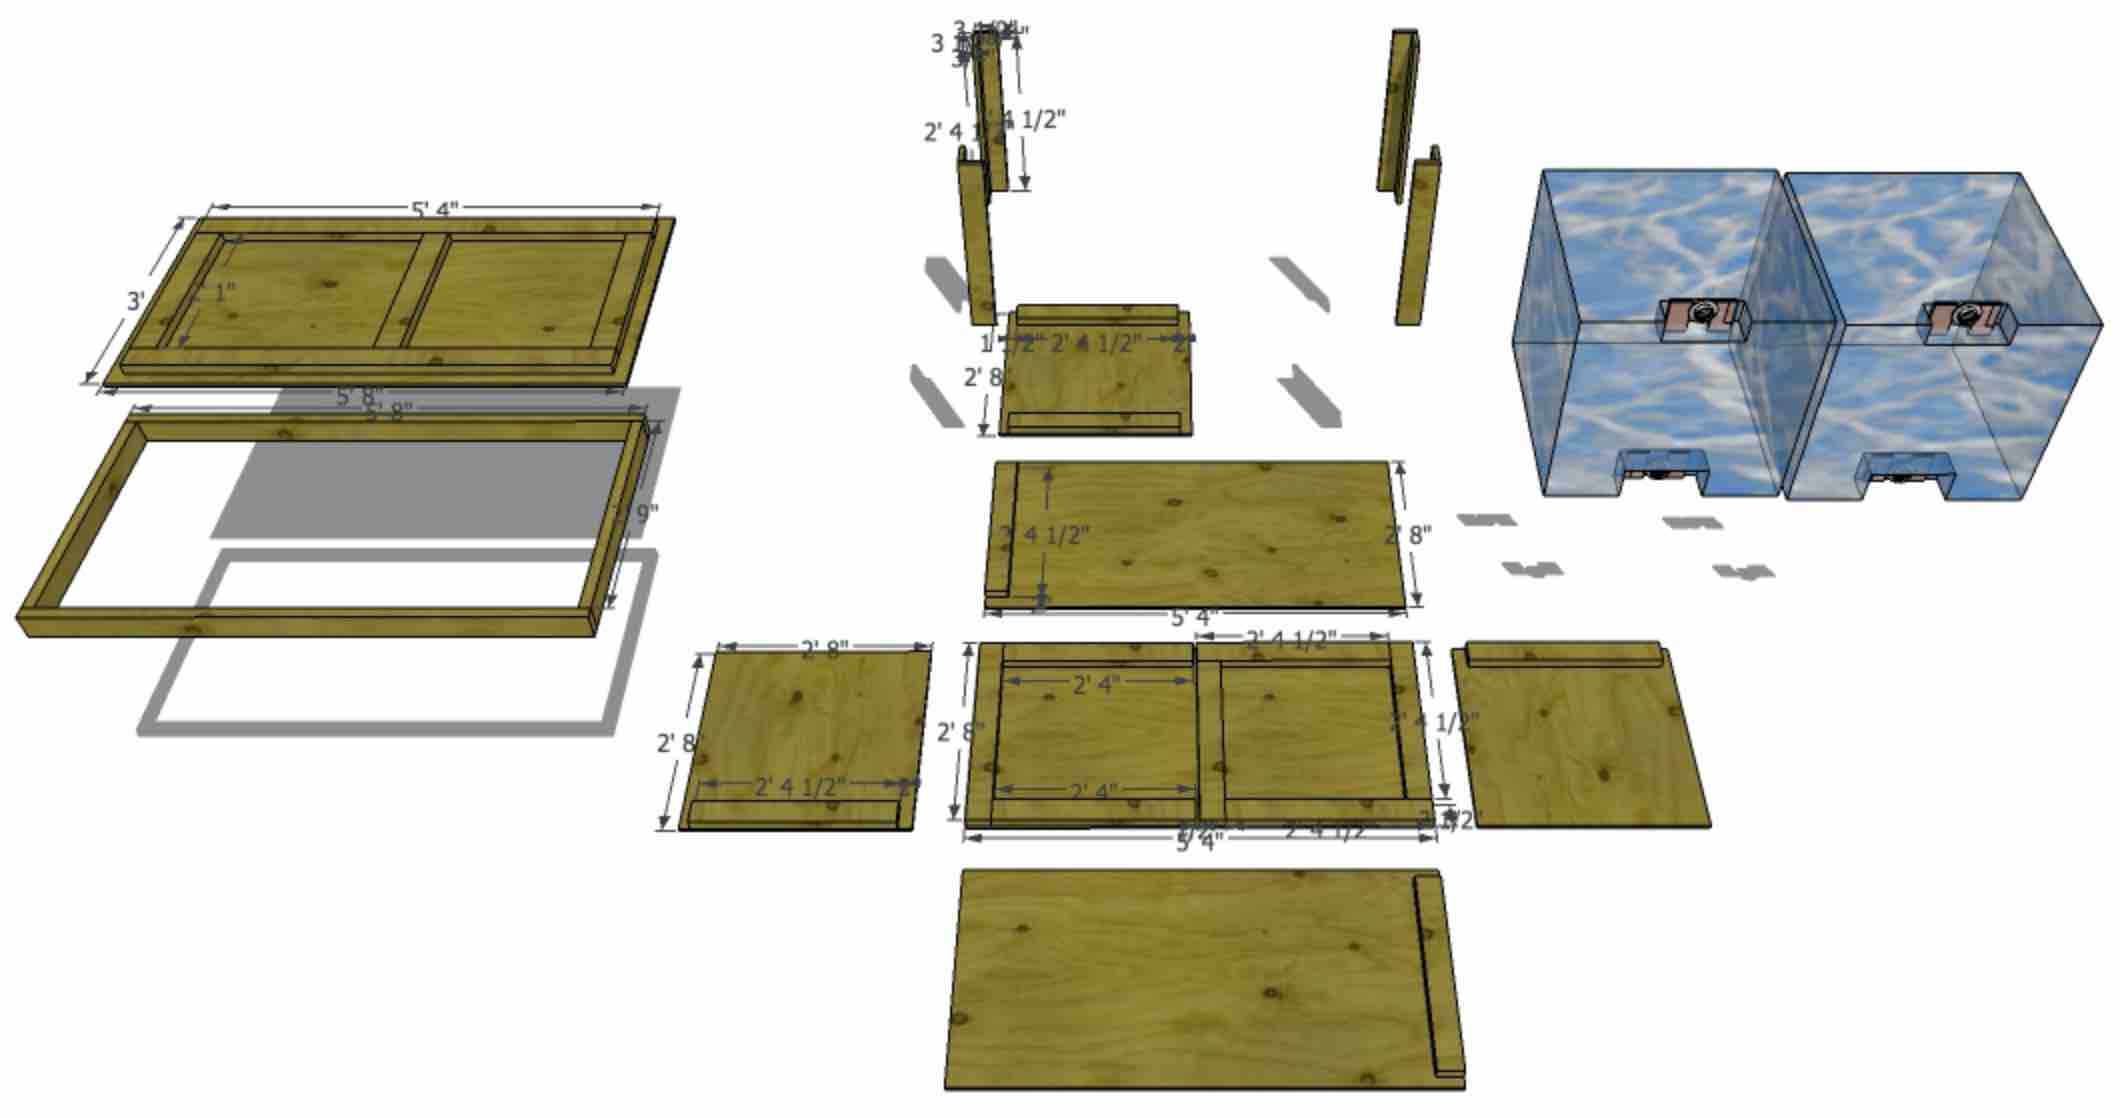
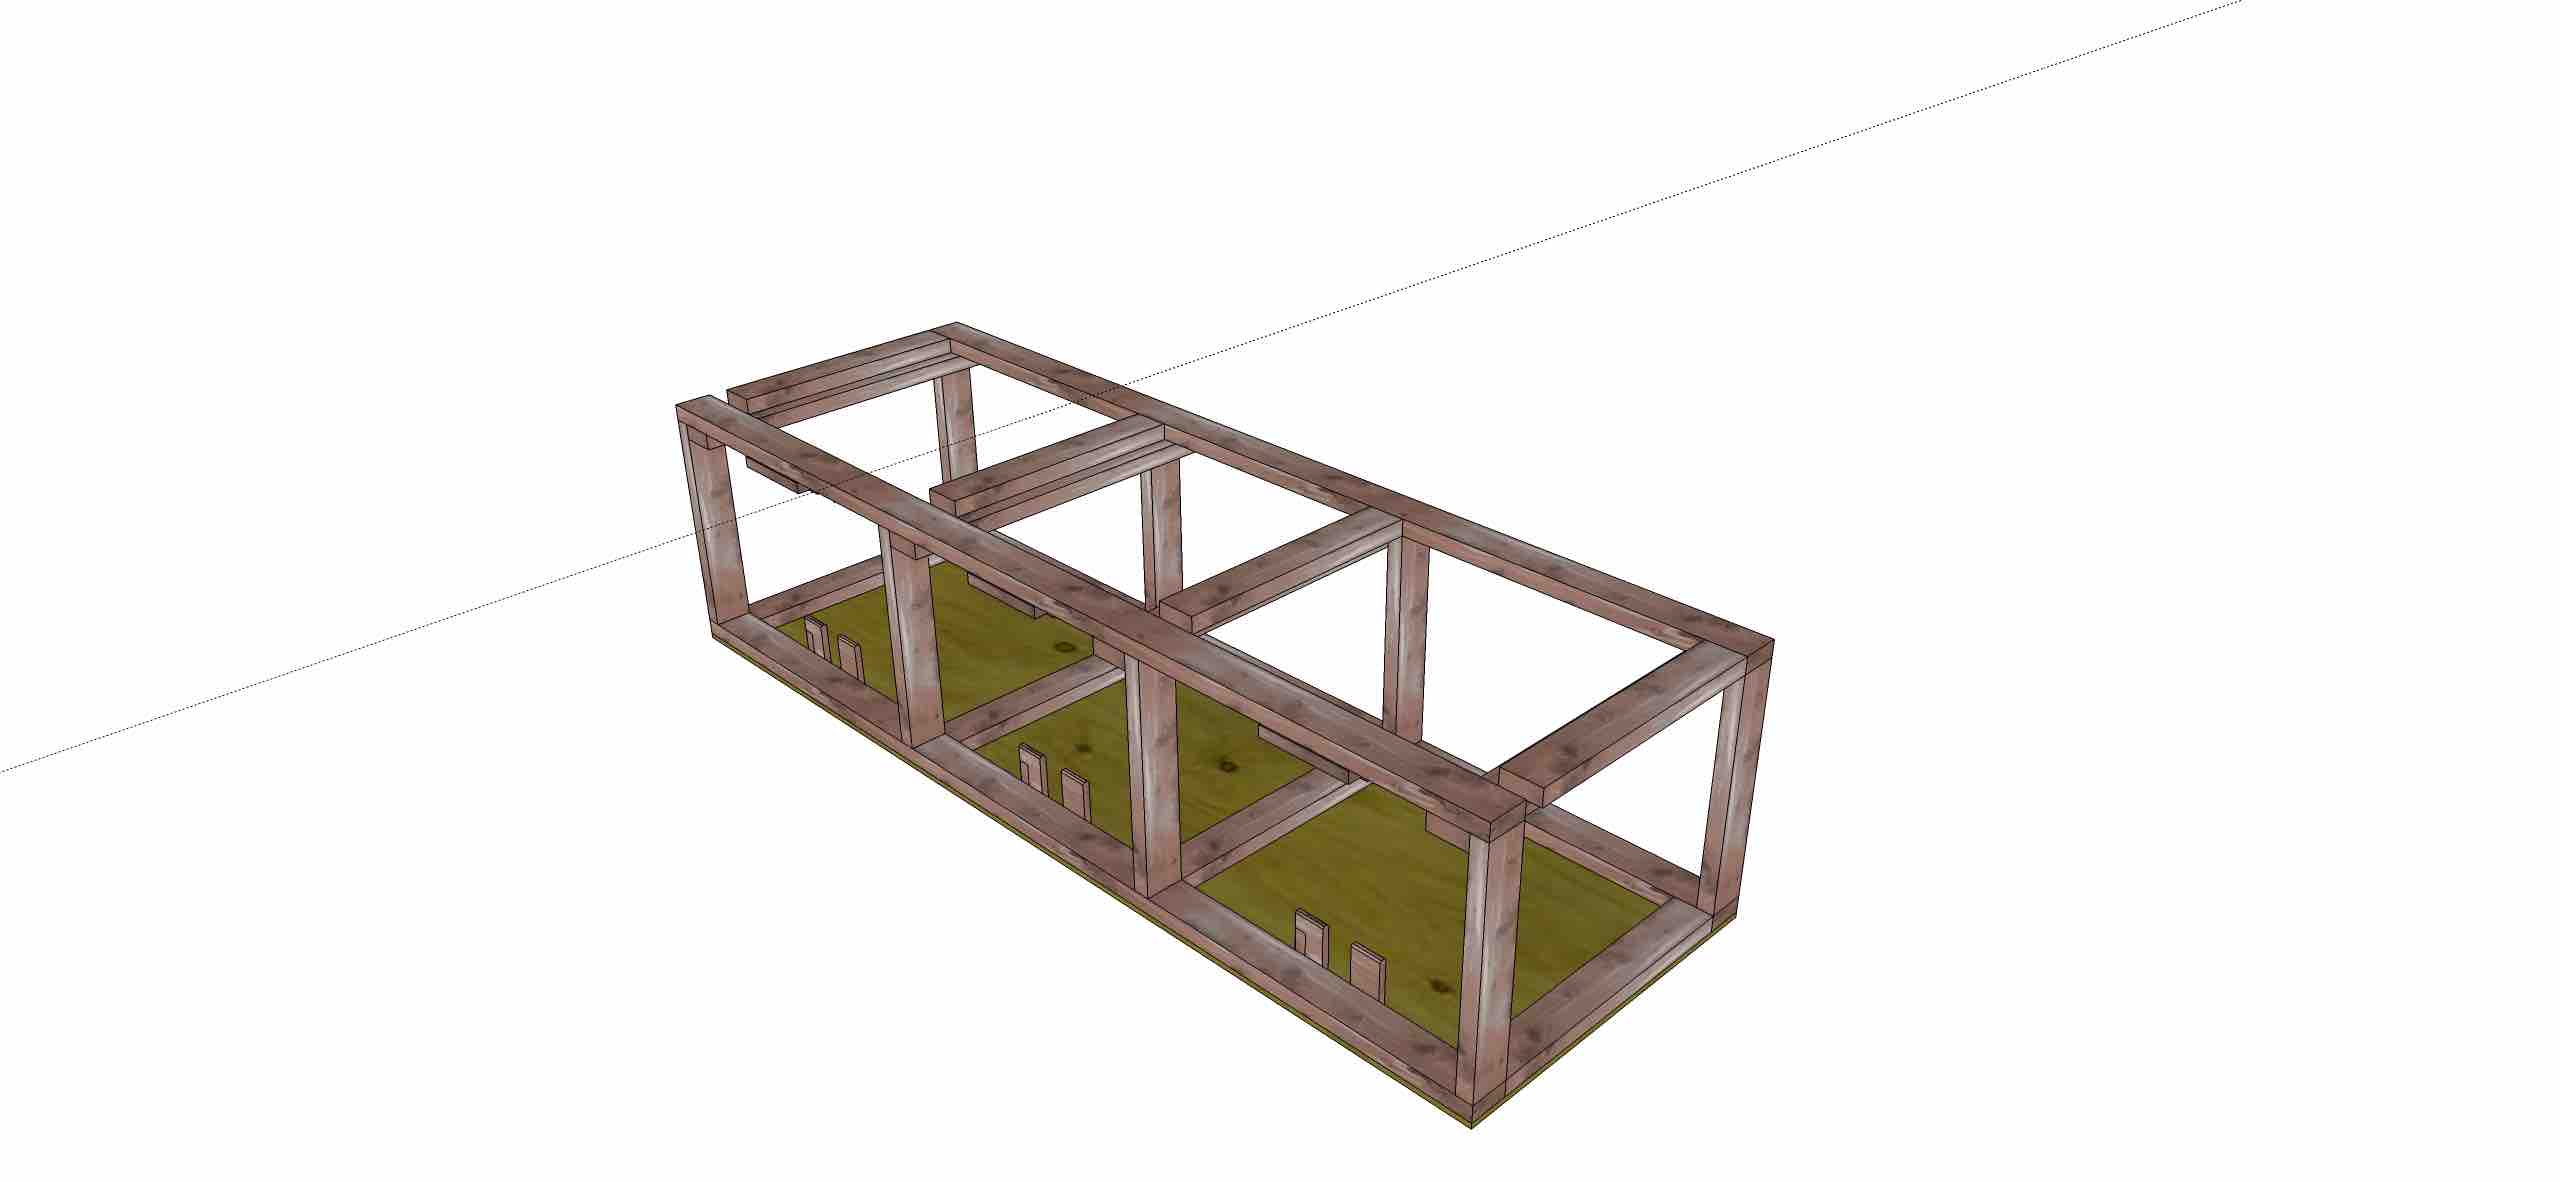
Above: Example of a 280 gallon bench plan/ layout made with 1/2″ or 5/8″ treated plywood. The reason for separate liners, and not just making one large open reservoir, is the added strength of an inner wall, securely fastened, even 32″ along the wall.
Please note: The lumber and screws are purchased separately (locally) from our DIY kits. You have to use your judgement as to the strength of the lumber as well as fasteners. Weak lumber or fasteners too small = sides blowing out of your bench. We only put the products, liners, fittings, adapters, plans in the DIY kits that are not readily available – many are specialty fittings that we have searched for, bought in bulk or even had custom made (in the USA) for this purpose.
Also important to note: Do NOT try to make the overflow higher than the level of the bench overflow fittings. It may seem like a good idea for pressure, but it will not end well. Trust me, I’ve tried this.


Get Social