
Any rainwater harvesting/ sustainable living website would not be  complete without a ‘how to correctly install a rain barrel’ post…
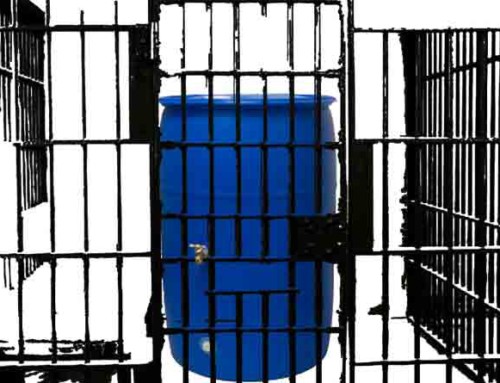
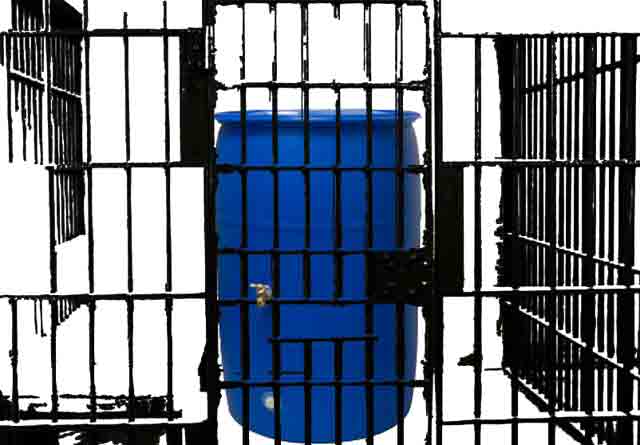
First, check out the rain basics i and ii page here. (& click on the barrel to see how it was painted – very easy)
Then let’s cover the 4 fundamental requirements: safety, overflow, quality (i.e. mosquito control), and seasonal (winter freezing)
#1 safety:
Basically, don’t set your barrel up on flimsy stilts or anywhere that kids can climb on it, tip it over, fall in, etc. Do NOT set your rain barrel on a deck unless you really reinforce it for the weight when full (almost 500 lbs). It has more psi than a hot tub due to the higher column of water. Prep a solid base.
This is usually done by using concrete blocks, but I take it a step farther. 500 lbs in a 2’x2′ area is a lot of constant pressure, especially when the ground is saturated. I prep the base at least as well as a basic patio:
- Dig an area (just larger than the footprint of the blocks) down 3-4″ below grade, putting the soil you excavate evenly around the area. Compaction will end up making this a 4-6″ deep hole
- Lay heavy duty weed fabric (the kind that doesn’t rip easily) in the bottom so it comes up the sides somewhat. This helps to disperse the weight.
- Add “3/4″ clear stone” (about 3/4″ dia. gravel with no sand or fines in it), tamping it with a tamper every 2 inches, up to grade, so you will add 4-6″ of “clear stone”
- Level the top layer with a 2′ long level so that it has a slight pitch, 1/8 bubble or so, to make the barrel lean back toward the structure you have it next to, if any.
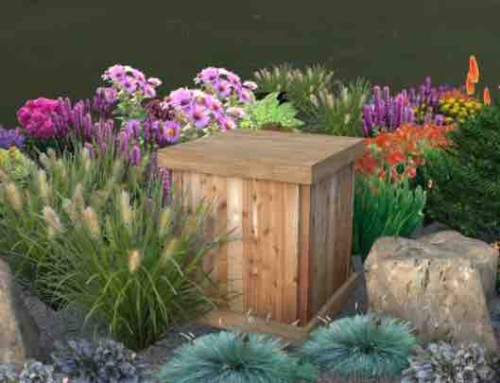
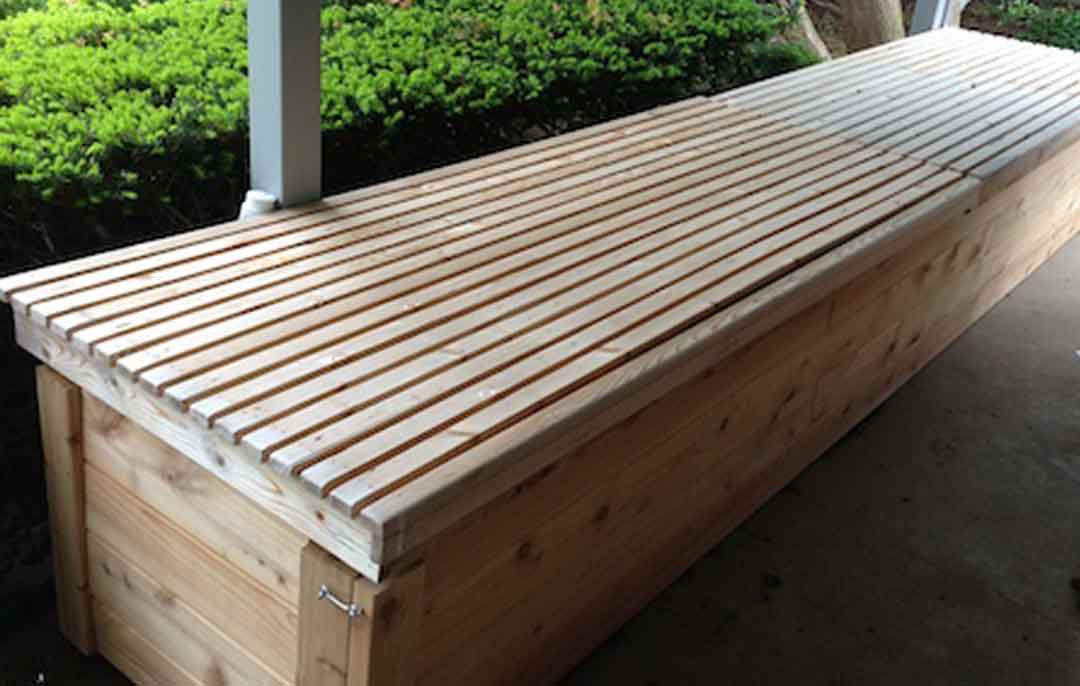
- Now lay your blocks on this base and you are ready for a 440 lb, 55 gallon barrel or rain bench
Rain Benches generally have less height than barrels, and their larger footprint makes it less critical to prep such a thick base. I still recommend a layer of clear stone or pea gravel to get your bench off the dirt.
#2 – Overflow
. It is very important that the outlet be at least as large as the inlet, or you have the potential for pressure build-up and/or flooding.
Enter the rain diverter. These are simply devices that fit into an existing  downspout and ideally filter and divert as much rainwater as possible into a usable tube or pipe that can then be
Your diverter should also feature a secondary overflow for heavy rains, (see below).
Ok, you have a barrel and just ordered a diverter. Now what? Glad you asked…
#3 quality (i.e. mosquitoes):
I move on to #3 because this point is an important one to make regarding both overflow and bugs. There are two types of systems: open and closed. Differences: open water (even with a screen), usually filling from an opening in the top vs. enclosed water storage, only open through ends of supply and overflow lines. For most purposes, a closed system is recommended:
• No Algae Growth
• No Mosquitoes (esp. with filter on diverter)
• Inlet and Overflow Tube Sizes Match
• No Water Erupting Out of the Top & Overflowing Down into Your Foundation
• Water Will Backup into the Diveter and Go Down the Original Downspout if the System and Tubing Reaches its Capacity to Overflow Out of Tubing.
…excellent. let’s close the system: For under $20, go pick up the  following at your local hardware/ home improvement store
- 2 – 1 1/4″ thread to barb fittings* (seen above on barrel)
- 12′ long sump flexible 1 1/4″ tubing* (cut part for fill, rest for overflow)
- 3 or 4 – hose clamps to fit 1 1/4″*
- 1 – 3/4″ hose bib
- roll teflon tape for threads
 * you can use 1″
  tubing or garden hose direct to the fittings included in your Saving Rain diverter kit as well. (so long as the size is consistent or larger for the overflow)

#4 seasonal:
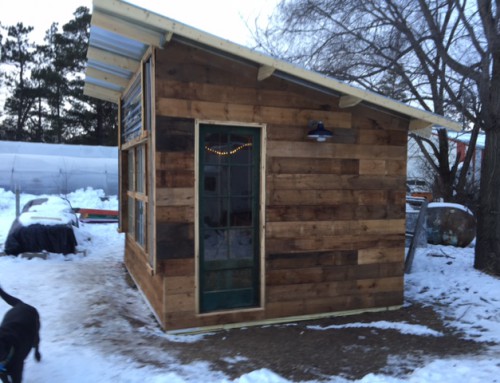
Besides the obvious reasons (a mild case shown here), winterization has to be planned for freezing climates.
Your diverter should have easily accessible plugs to simply stop flow into your barrel or bench, so you can just open and drain them without needing to haul everything inside.
Gutter cables can be incorporated with your diverter as well, reducing possibliity of freezing.
That is what sold me on this diverter… and I think that’s what Devin liked about it, too (an independent youtube video review by badboyorganics.com)


Leave A Comment